


Given the rise of distributed working many people new to it have found this remote thing a bit disorienting. Needless to say poor bandwidth, bad audio, and subpar video quality only serve to make connecting with others feel down right uncomfortable.
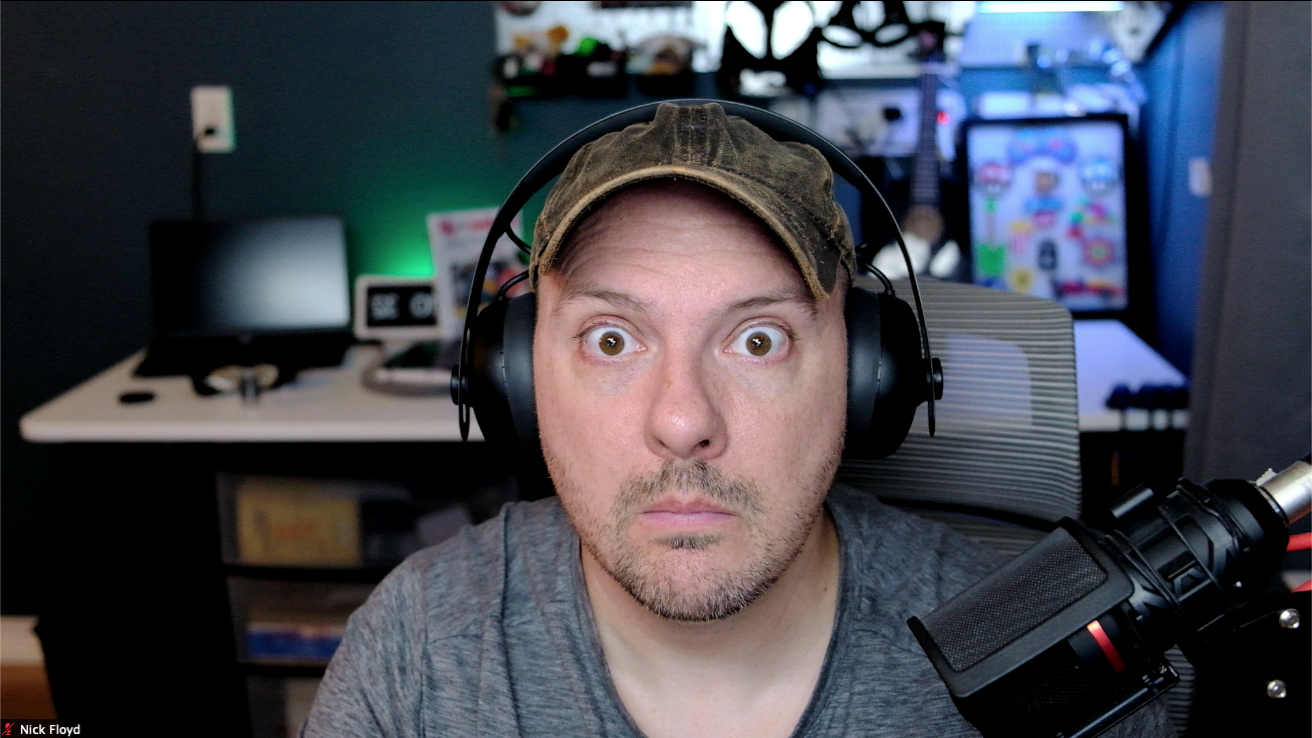
I often get asked what my audio and video setup is at my home office when in zoom calls. Folks once poked fun at the seemingly "high quality" of my audio and video - but as time passed and with the growing need for a quality connection with others seems to have made quality communication important again.
While my setup is not basic, it's also not too complex and out of reach in terms of cost. The kids and I would stream to a local maker space where looking at PCBs and wiring layouts made fine tune control over video a must - so this setup is built with that use case in mind.
Update 08/20/2020: I failed to mention that many of the big names in DSLR and Mirrorless are making it really easy to use your device as a "webcam". Have a look at what FujiFilm, Canon, Sony, Panasonic, and GoPro are doing for our remote community. While not all platforms and devices are supported, it is definitely a step in the right direction for quality and connectedness.
We're going to visit the two(2) aspects of this setup - Hardware, Software/ Configuration.
Before we do, here are some things that need to be highlighted so that you read this with the right context in mind:
- All setups tend to be unique but some of the tips below will transcend hardware and software.
- I'm simply providing details on what I landed on for my setup - it has worked for me, it might not for you. There are many, many different ways that audio and video can be configured for an at home solution - this is just one of those ways.
- I have gone through a few iterations to get something that has worked for me - expect to do the same.
- I've provided links (no affiliate junk or anything) to the hardware below for reference. If you're considering buying something make sure to shop around.
- Note, this is not just a glorified webcam. If you want one of those you can go with something like the logitech brio. This is a multi purpose setup that is used for screen casting, frequent video calls, streaming, and so on - it is versatile.
Hardware
The hardware is broken out into four(4) separate categories video, audio, mounting, and lighting
Video
TIP: Many DSLR cameras will have an automatic shut off due to heat from the reflex mirror / sensor, this can bode poorly for long calls or casts. This is one of the reasons going with a mirrorless camera might be the best option.
TIP: Make sure the camera you choose gives you the ability to turn off output info (HUD information) over HDMI; otherwise it will output to your stream
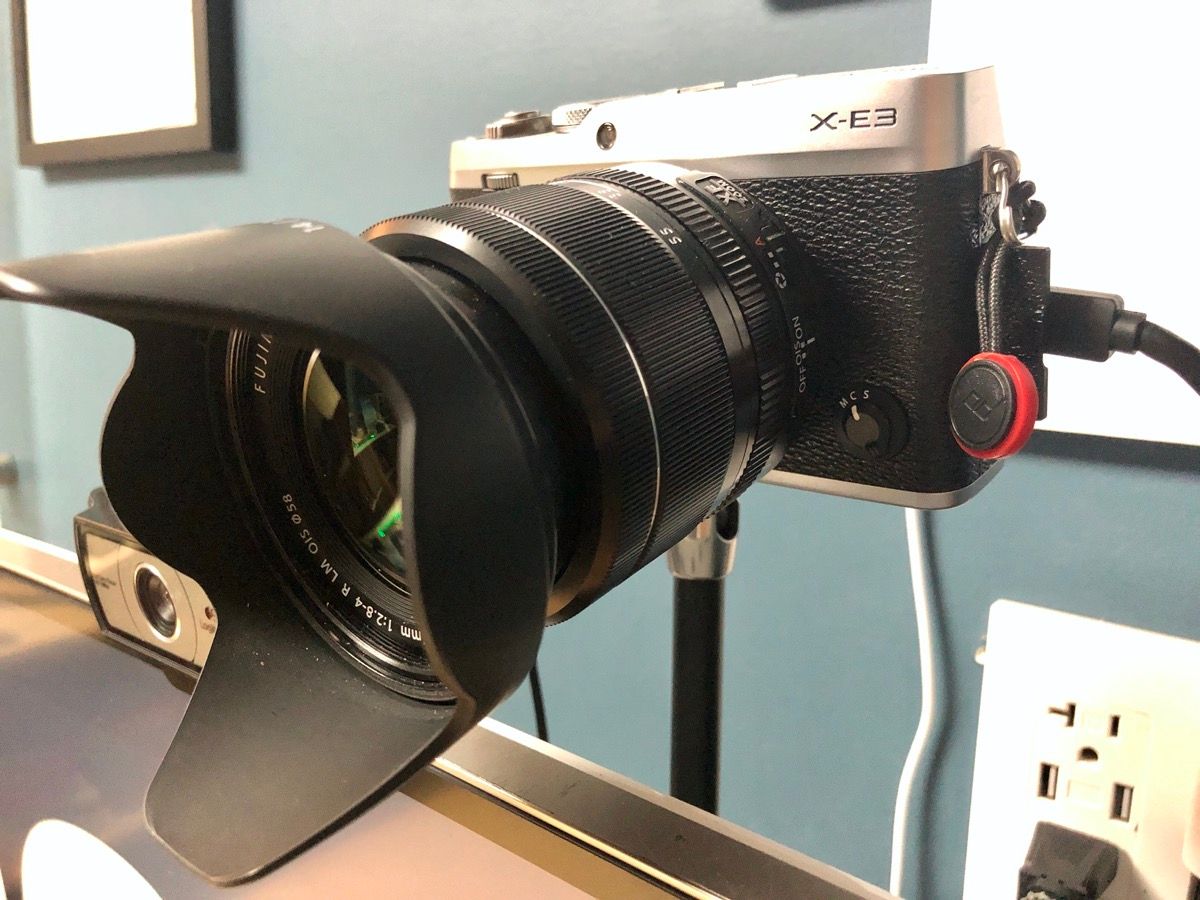
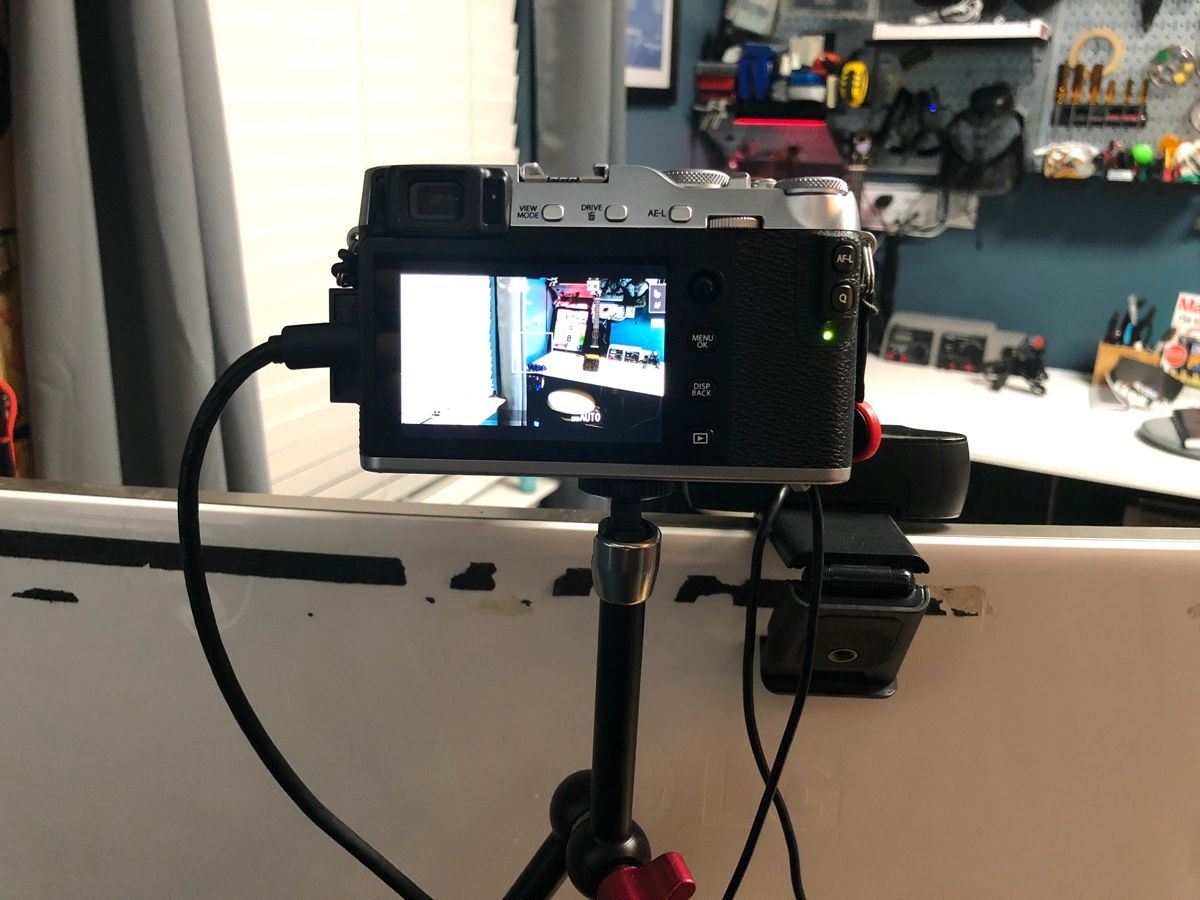
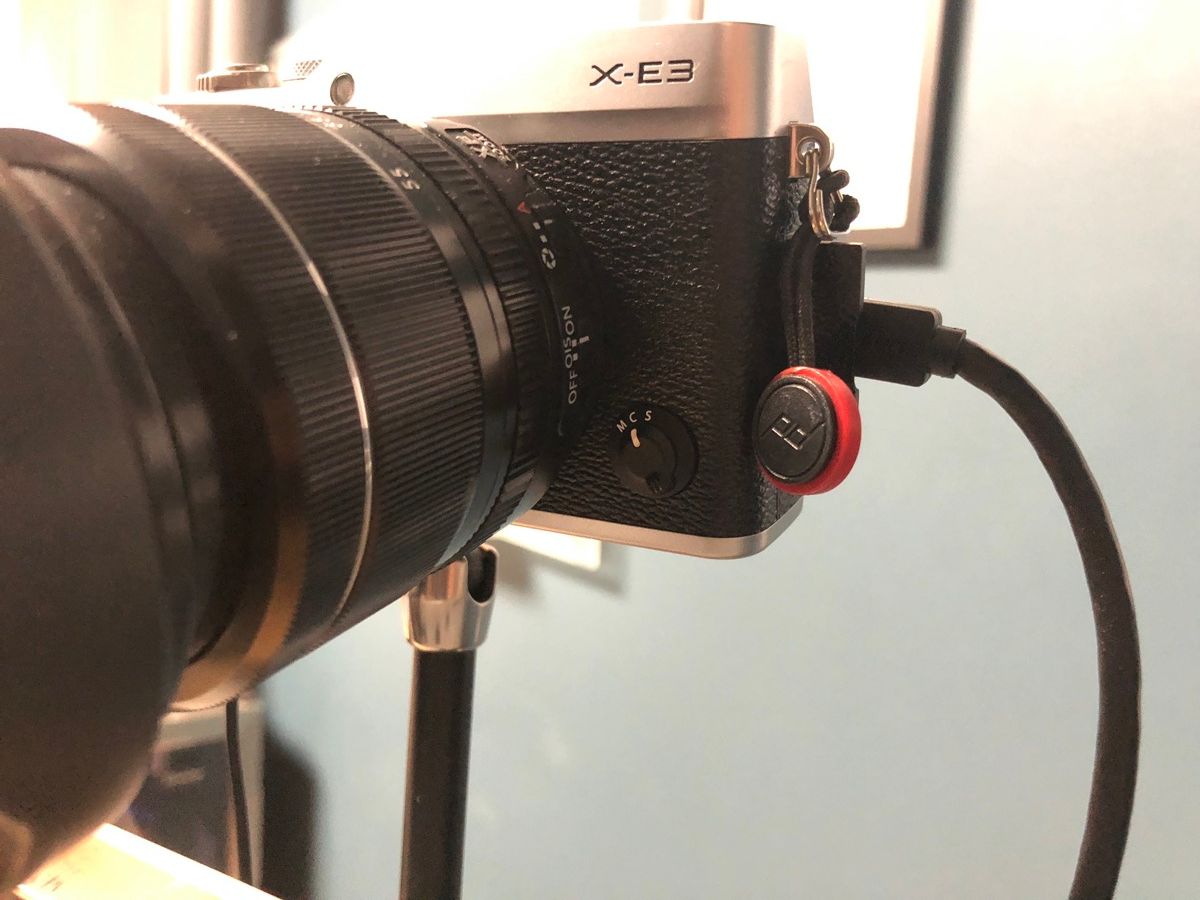
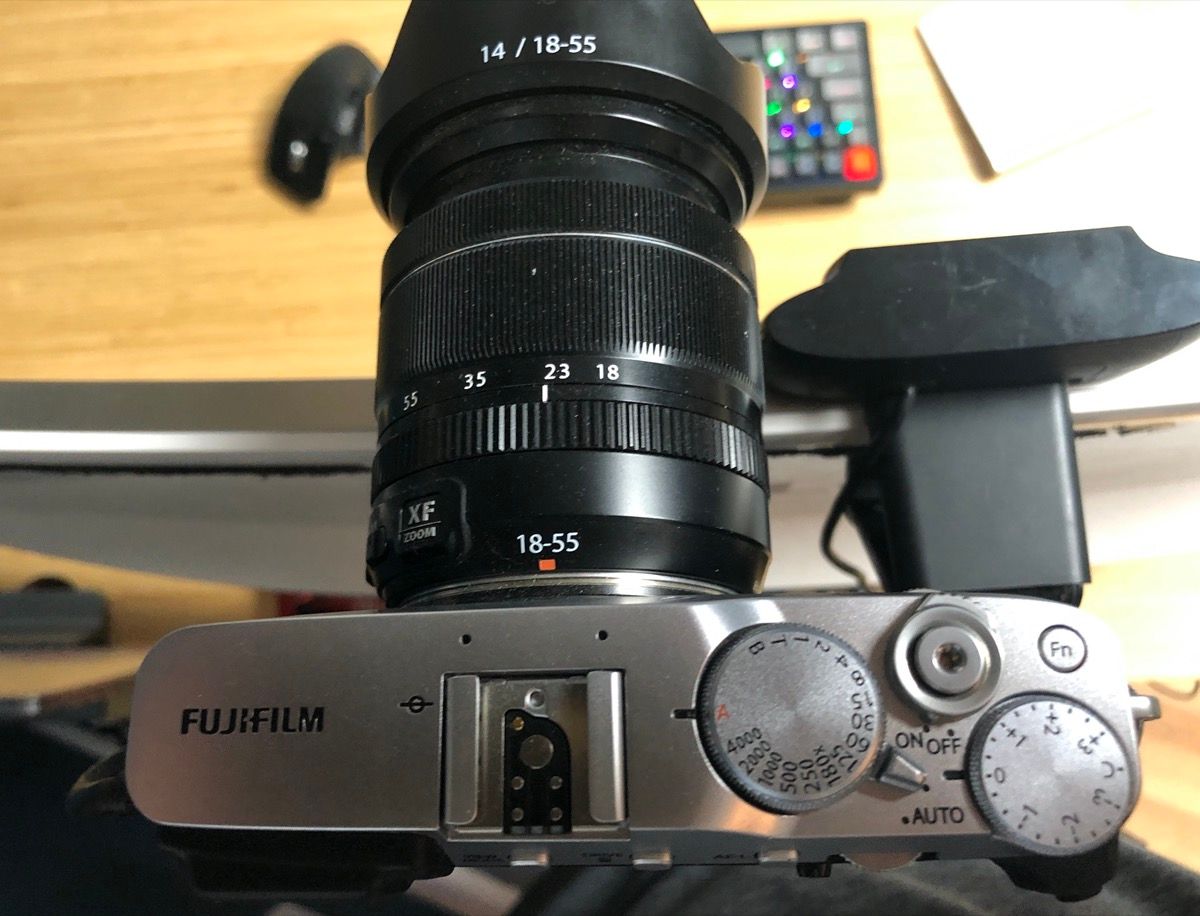
Camera: Fujifilm X-E3 Mirrorless Digital Camera - Silver
The body of the camera.
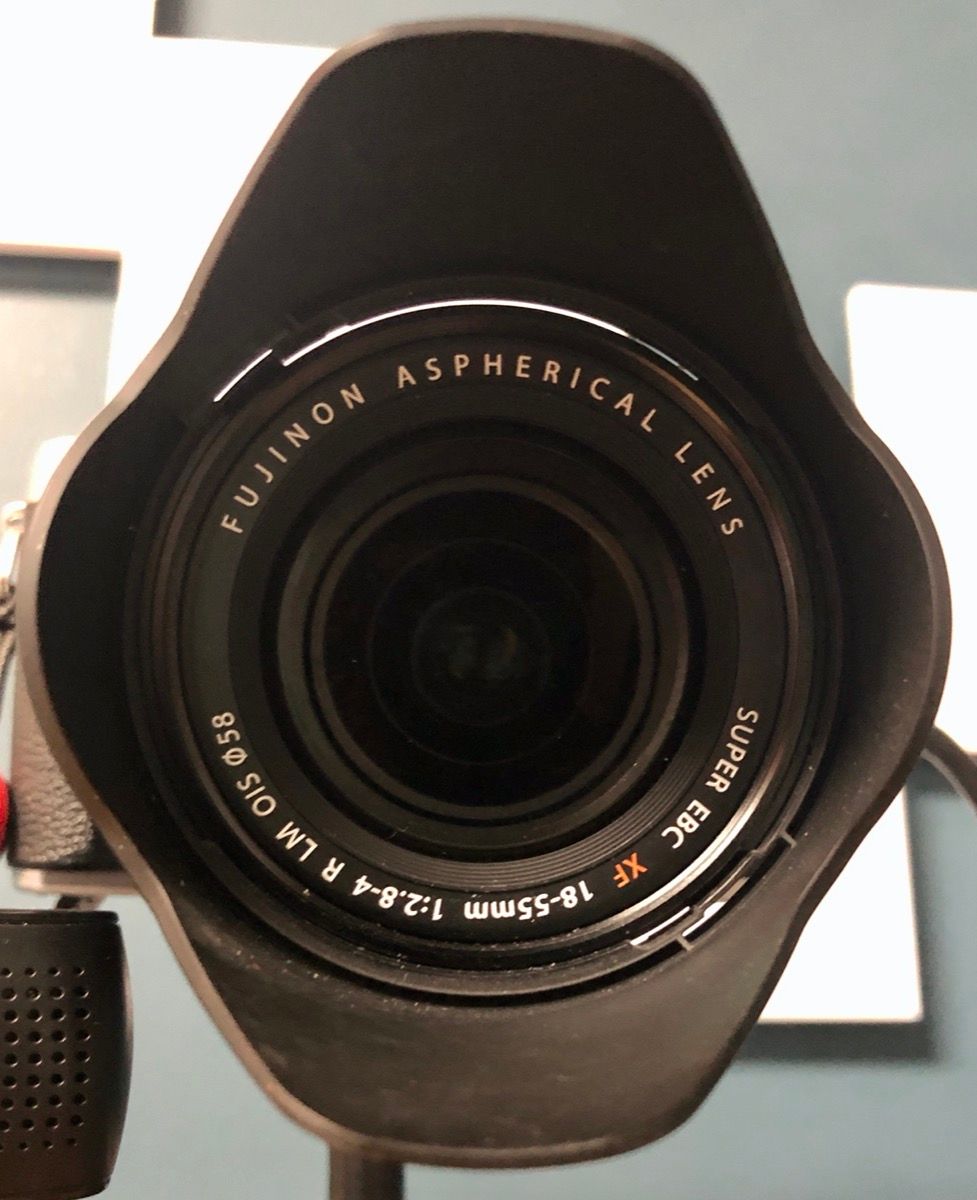
Lens: XF18-55mm Lens Kit
This can vary but I find this utility lens to fit for most of the applications that I use the setup for.
Capture device: 4k Elgato Cam Link
This transfers the data that is being streamed from the camera to your machine. This is the key component that allows your computer to see the camera as a valid video capture device. There are options for capture devices but this is super common and is simple to setup.
Camera continuous power: Camera AC Power Adapter Kit
This setup simply does not work with a battery - on battery, one 30 minute zoom call and you'll be without video for the rest of the day.
HDMI adapter: UGREEN Micro HDMI to HDMI Adapter
Alt webcam (incase of device or config failure): Logitech c930e
Audio (both input and output)
TIP: Something to consider here... does your audio (input/output) device have a monitor or active pass through? This feature allows you to be able to hear your voice when you speak as though you are sitting in a room with others just talking. It dramatically reduces the "weird" of your calls because it feels more natural when you talk and listen you can hear the environment around you.
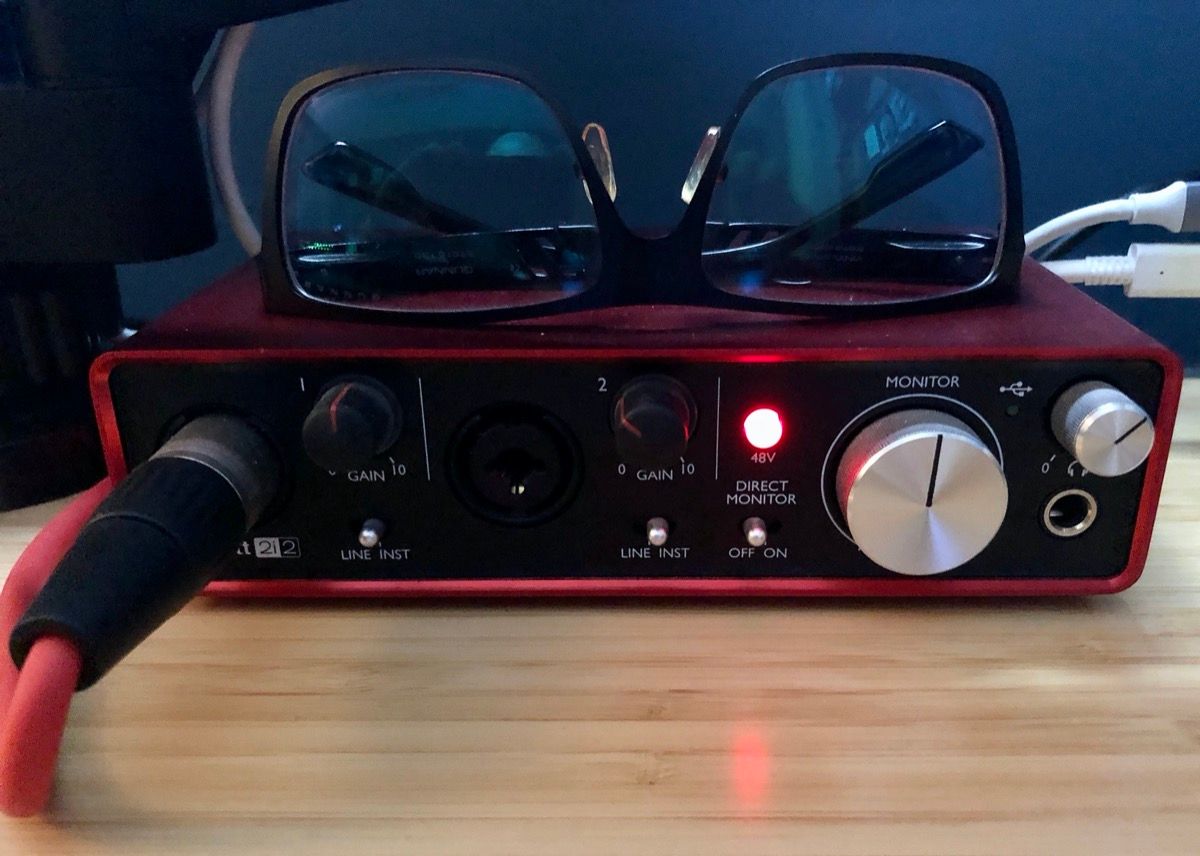
Audio interface/mic (input/output): Focusrite Scarlett 2i2 Studio (2nd Gen) USB Audio Interface
The audio interface acts as an input for the mic an other devices such as a guitar, additional mics, and so on. This is optional but I do find that the XLR connections /condenser microphone provide super crisp audio.
Also the monitor and controls on the interface make switching working contexts a breeze. You can substitute a USB mic like a blue yeti condenser mic or something similar with good results as well.
Pop filter: PEMOTech 3 layer Metal Mesh, Foam, & Etamine
Output option 1: Apple AirPods Pro
These tend to work the best when I am on a short call or meeting. I can easily set them to passive mode and effectively have a monitor to hear myself speak.
Input/Output option 2: SteelSeries Arctis 7
These are great for long meetings, pair programming, or calls where I am moving around a bit. I can push the condenser mic out of the way and pull these wireless headphones out - they have never failed me.
Output option 3: Nuraphone headphones
These are for when I am composing music or just messing around on my synthesizer. I want to hear vocals through the passthrough while also hearing the music
Mounting
TIP: Get multi-join locking mounts (Magic Arms) if possible. These tend to provide the most mounting flexibility and when locked in place tend to sway or bounce the least.
Mounts for the camera:
CAMVATE 11" Articulating Magic Arm for Camera Monitor
CAMVATE Super Clamp with 1/4"-20 to 1/4"-20 Screw Converter
There are about a half a dozen different manufacturers of these "magic arms". The reason these things are so amazing is that:
- They can articulate 360 degrees
- When the main joint is tightened all joints lock in place
- The super clamp can easily clamp to most monitor arms
- Bounce and jitter is dramatically reduced
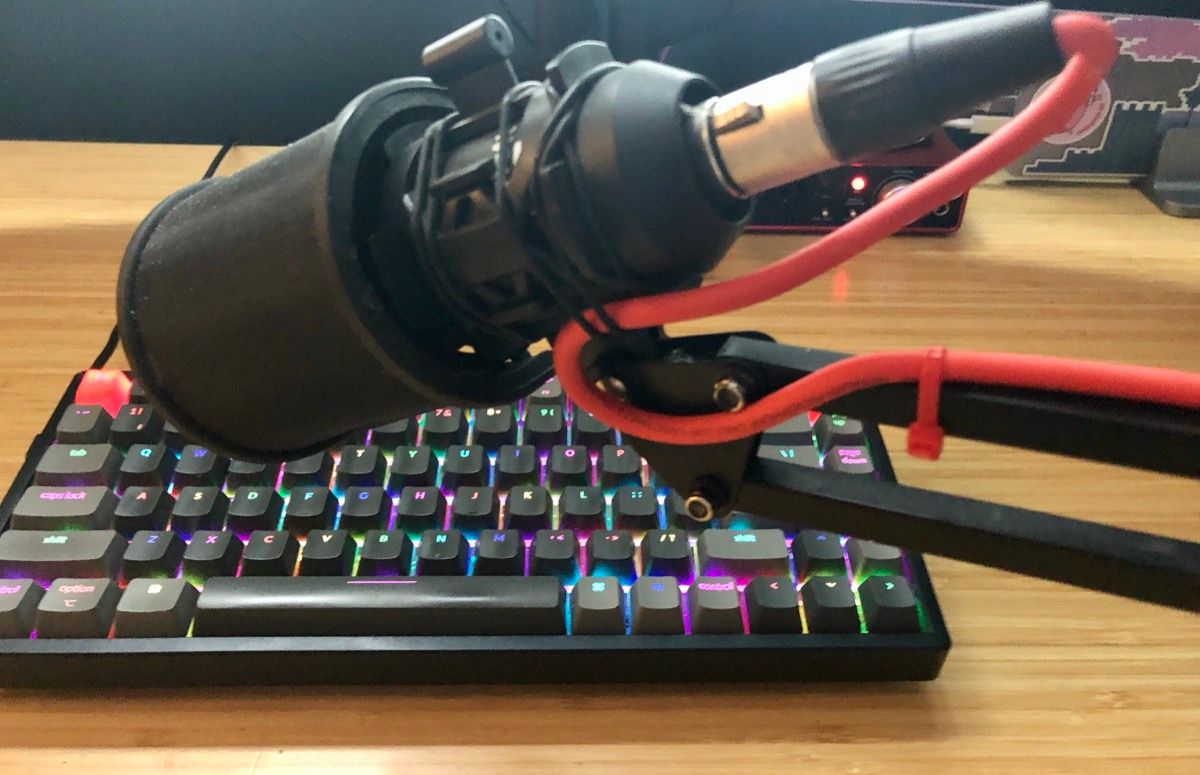
Arm for the mic: NEEWER Adjustable Microphone Suspension Boom Scissor Arm
I have purchased so many of these mic arms until I landed on the NEEWER one. Not only was it cheap but the arm has a low profile so that I can clamp it on the desk near the wall.
Lighting
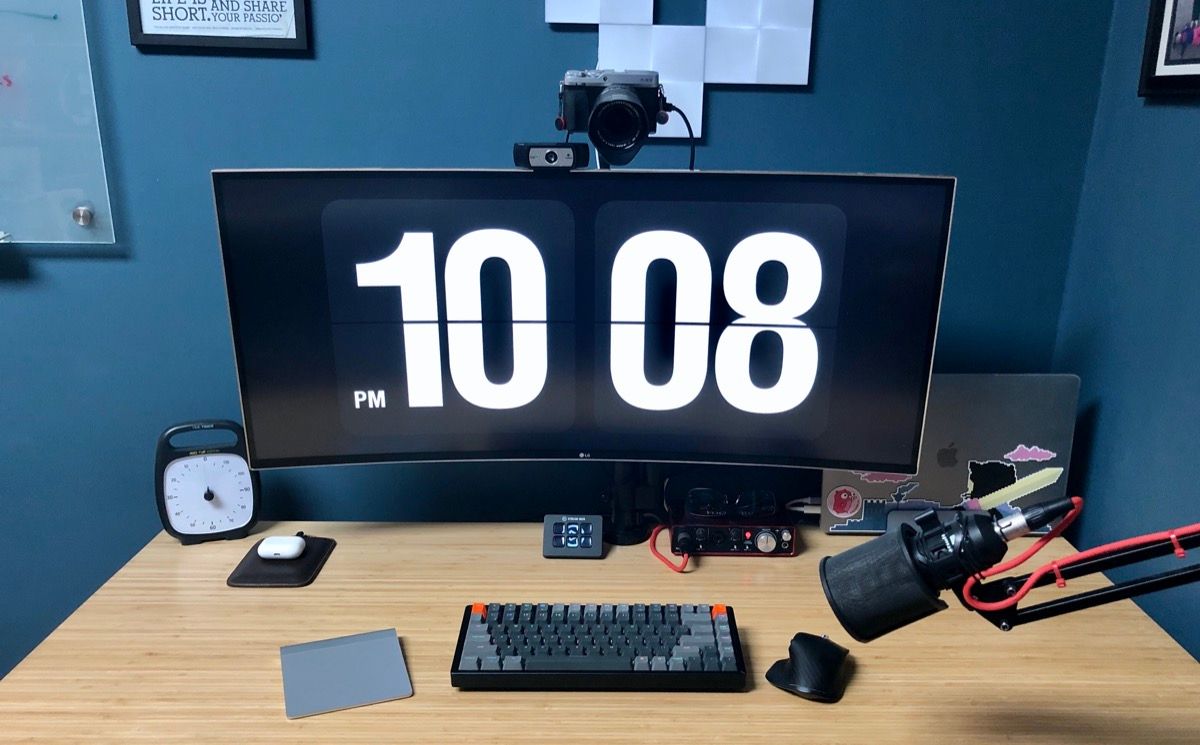
I should say up front, I built my office from the ground up. It was a garage originally so I was able to build in the placement of the windows, light fixtures and I did it all with broadcasting video in mind.
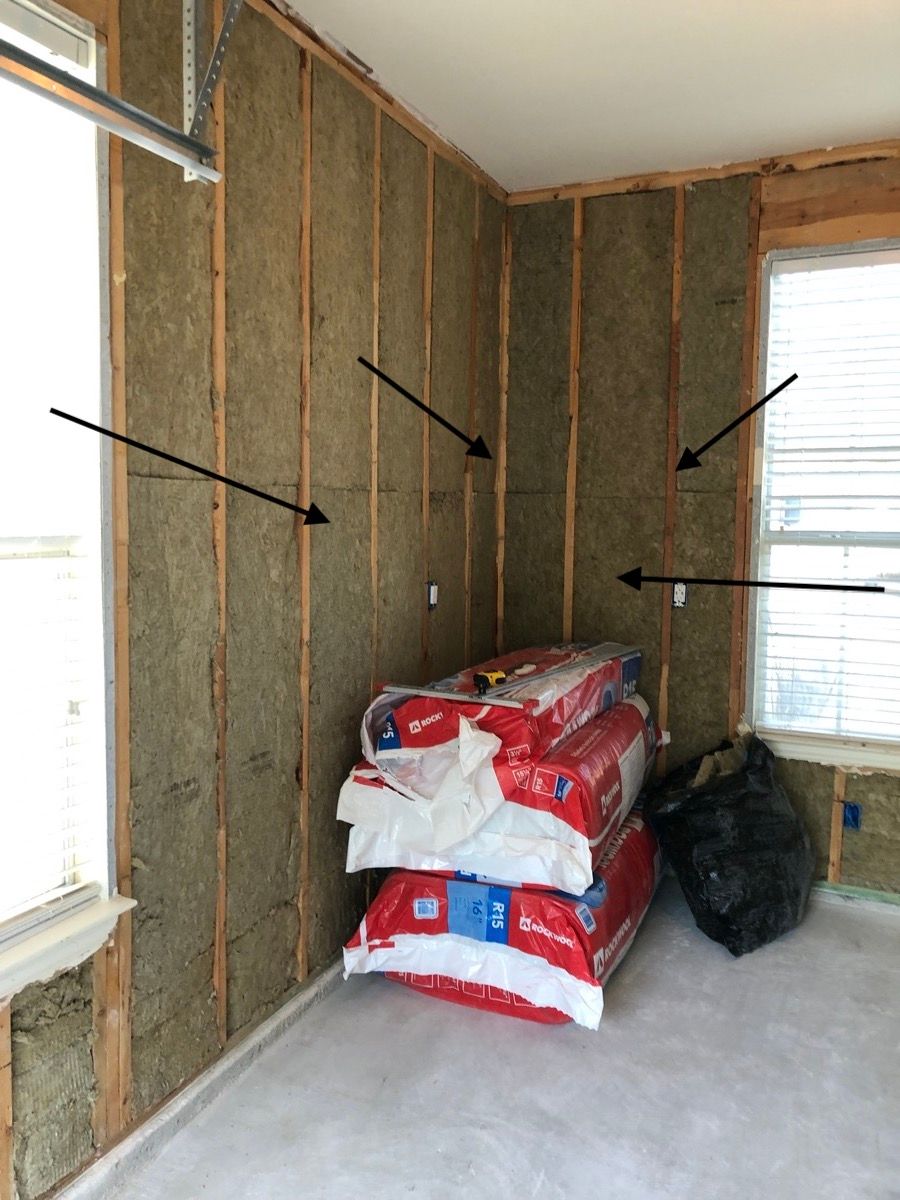
The idea here is that when there is a light source on one side there should be one of lesser or equal on the opposing side. There is a fancy white paper on the subject that I should source here but I have no idea where that link is right now.
The light sources, if evenly distributed on opposing surfaces, will reduce shadows.
So my strategy for lighting was simple:
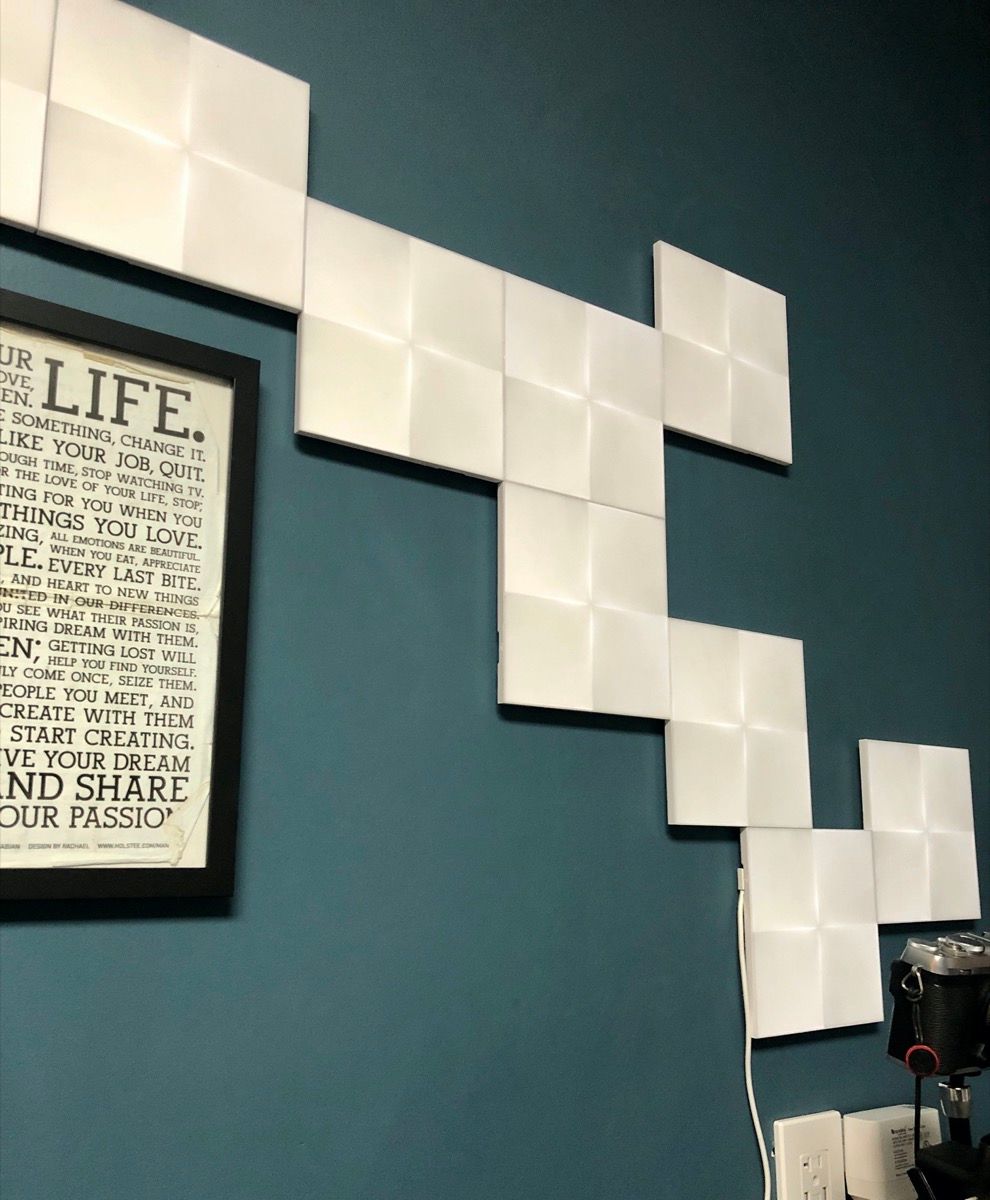
- Dynamic / Intense light behind the camera. For that I use the awesome Nanoleaf canvas lights. They are programmable, adjustable, and can support numerous modes. So if it's raining outside and the light from my window sources is low I can program the canvas to increase it's daylight setting.
2. Windows on the corner walls. This can be augmented with a set of floor lamps if you don't have the benefit of putting windows where you want them
3. Soft colorful light in front of the camera (approximately 6 ft away). This provides the accent when the depth of field is shallow in the video feed. For this I use some simple, addressable LED lights (diffused) that I have set to rotate through a set of colors in a breathing-like pattern.
Software/ Configuration
Finally, the software and camera settings. Note that the Elgato Cam Link is a device that takes in an HDMI video source and outputs to USB 3.0 so no software like OBS or xsplit is needed.
Camera settings
As I said above, most of these settings are specific to the Fuji Film X-E3. However, that does not mean that other devices will not have similar settings.
TIP: The general rule of thumb is to start with AUTO settings and slowly work outward from there. You'll find in most cases those settings will work just fine.
TIP: Check the manufacturer's site for firmware updates for your lens and body. This will generally enable features that you might not've had access to before.
- Set the camera to continual auto focus (c)
2. Exposure compensation to 0 (depending on the light in your room)
3. Shutter speed to auto
4. Set manual mode (not .AUTO)
5. Set lens to 23mm
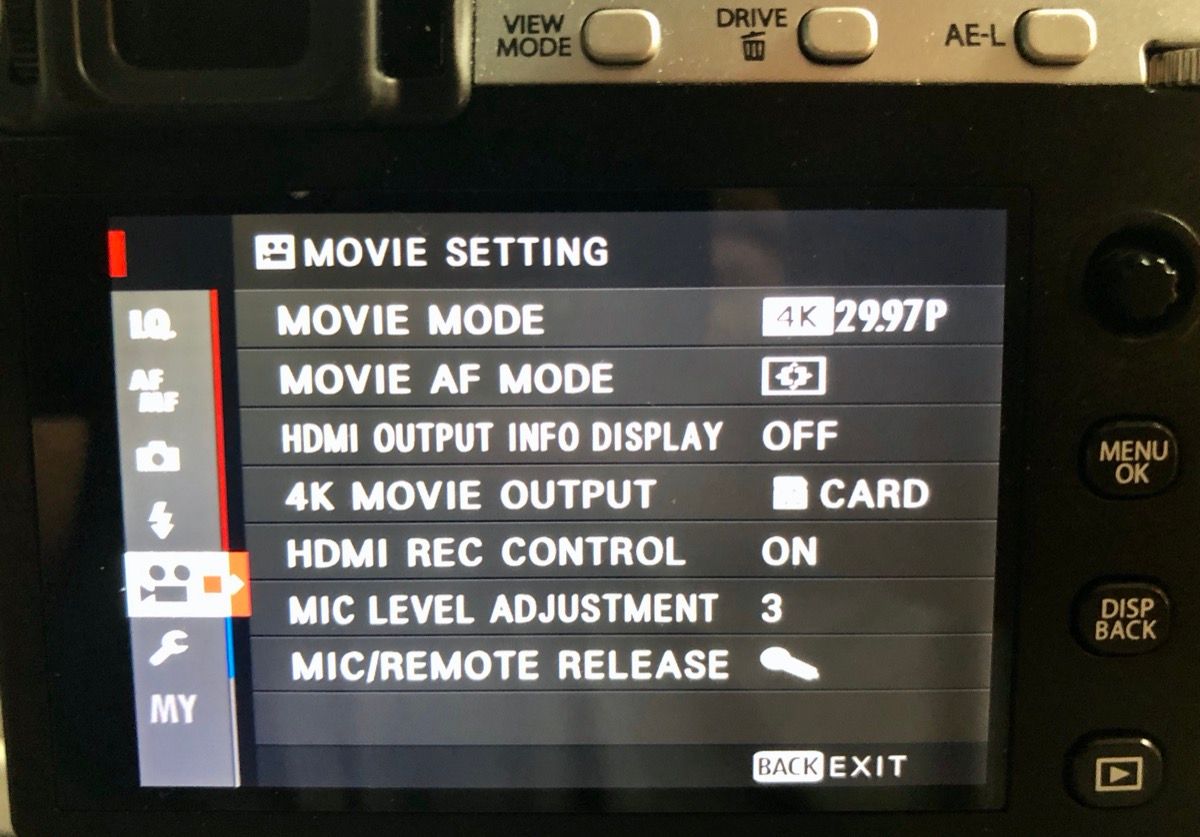
6. Set movie settings - note: HDMI OUTPUT INFO DISPLAY = off
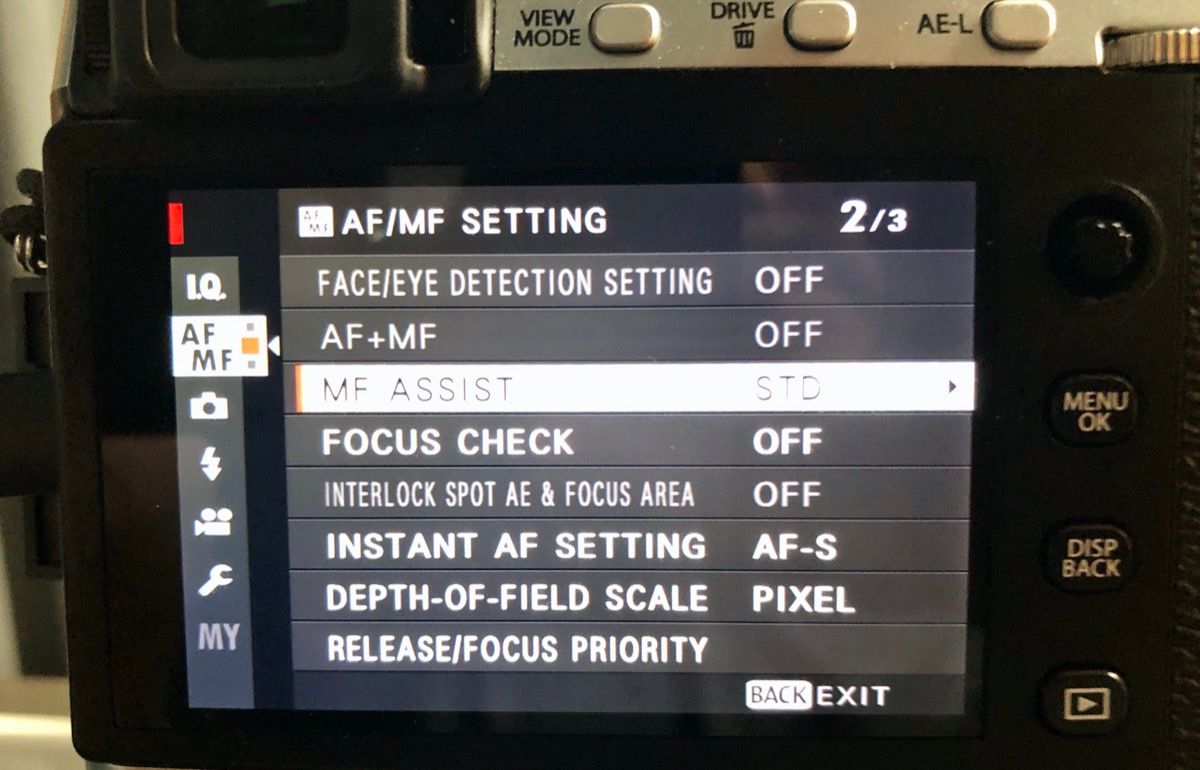
7. Set focus settings
8. Make sure touch auto focus is enabled
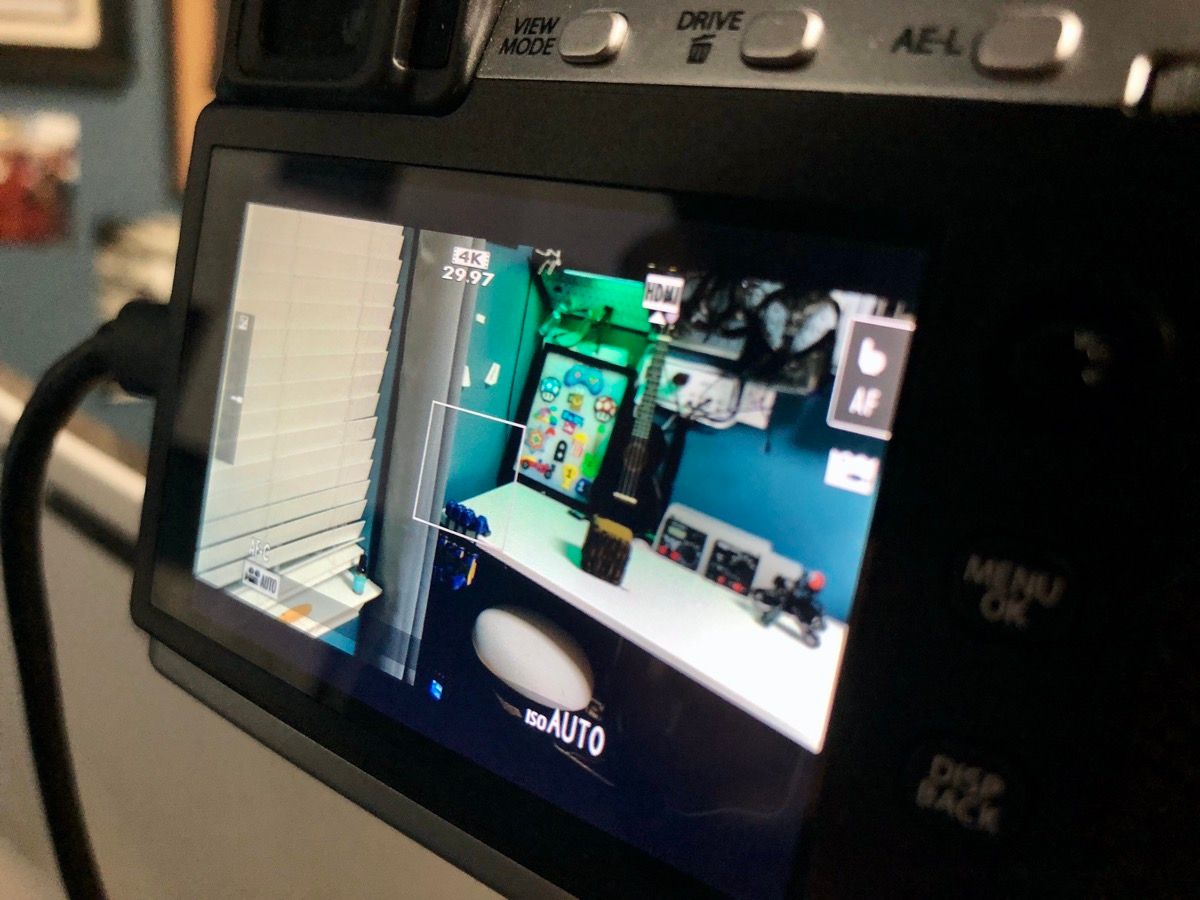
9. Finally, touch the screen in the approximate place where your face will appear
ZOOM Settings
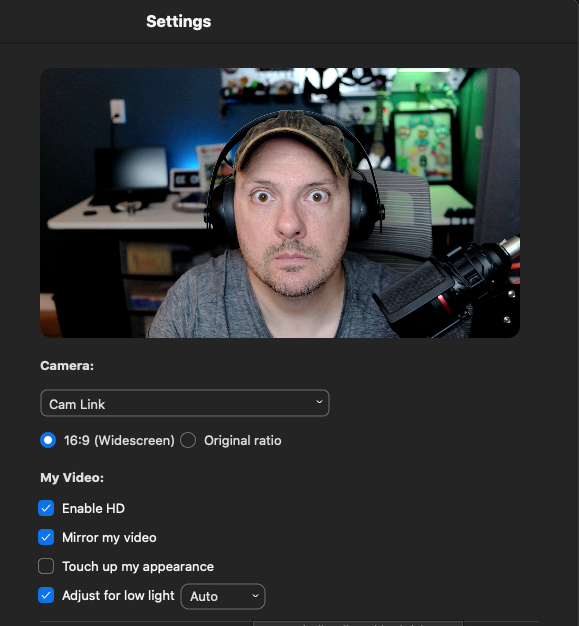
TIP: By default, standard accounts on zoom broadcast at 720p for standard HD, Full HD they allow the broadcast of 1080p, and higher quality settings require a support ticket. Despite those limits, I generally leave my video on 4k @ 30fps - given that I have multiple use cases.
That's it! Go make calls with amazing video and audio your own way and let me know what you end up doing!